Open Adobe Premiere by click WINDOW (Lower Left Corner of Screen), typing in ADOBE PREMIERE and clicking the ADOBE PREMIERE PRO CC 2015 icon.

Click on "New Project..."

Name your Project and then click "OK"

1) Import the footage by going to FILE > IMPORT...


...and then selecting the clip.
2) Drag the imported file from the PROJECT FOLDER to your TIMELINE


3) To add SLATE or TITLE, click TITLE>NEW TITLE>DEFAULT STILL

4) Click on PROJECT FOLDER to find your TITLE and type your SLATE (Name, School, Date).

5) Drag your new TITLE clip to the TIMELINE (the TITLE clips should appear PURPLE on TIMELINE.


6) Use the RAZOR TOOL (HIGHLIGHTED IN BLUE) to splice your video. Click the LOCK logo next to VIDEO or AUDIO track to separate VIDEO from AUDIO.

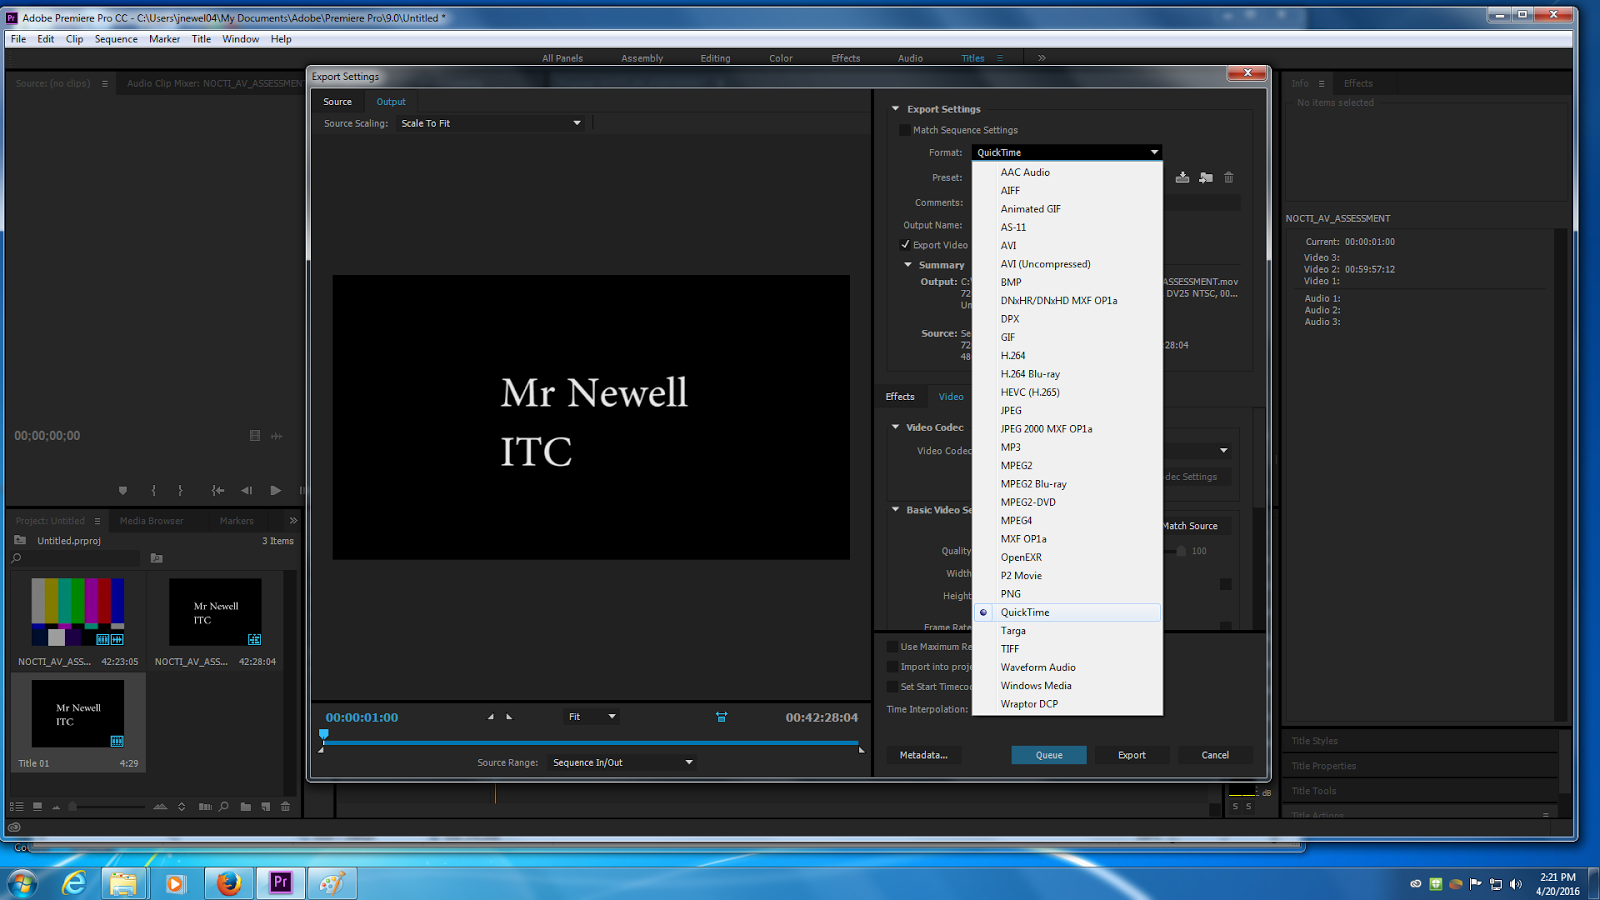
7) When finished editing, click FILE>EXPORT>MEDIA

8) Click FORMAT>QUICKTIME and then press EXPORT.
The file should export to the DESKTOP... you are done editing!

No comments:
Post a Comment